As unbelievable as it may seem, all PCBs you have seen in the previous posts were manually assembled. The following pictures show step by step how prototyping is being done without expensive equipment.
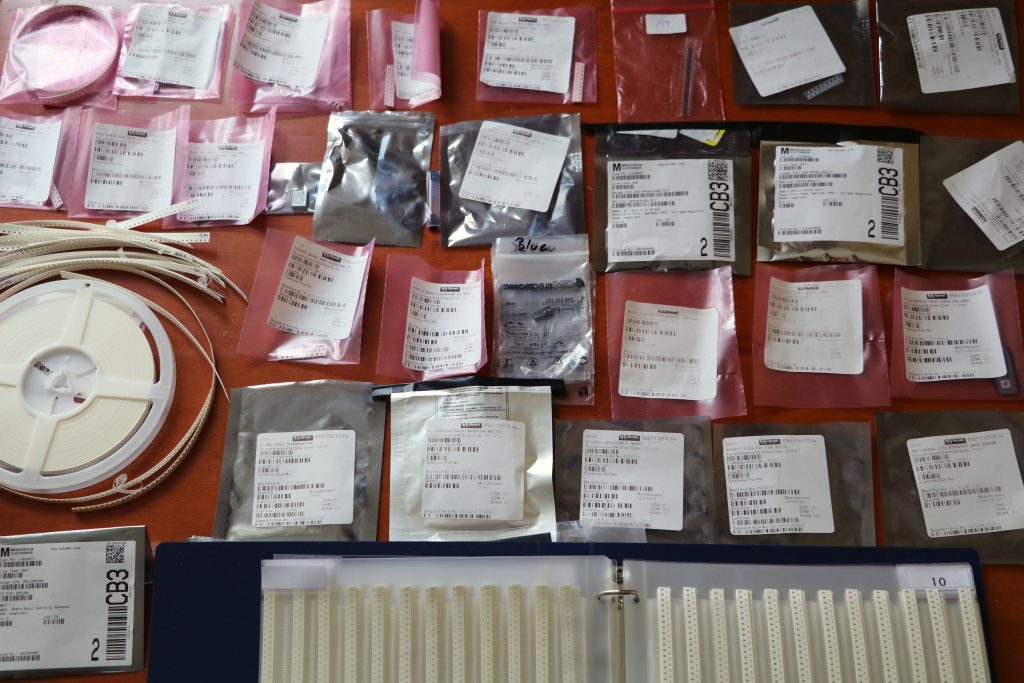
Step 1: Preparation. Collecting all the parts and laying them out on the table for convenient access.
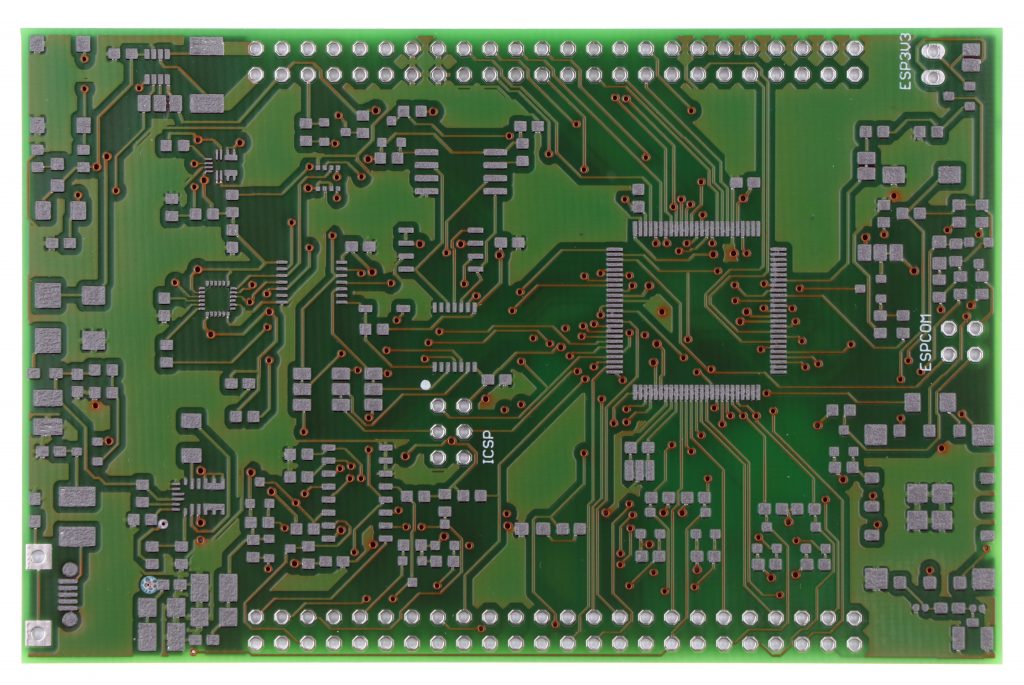
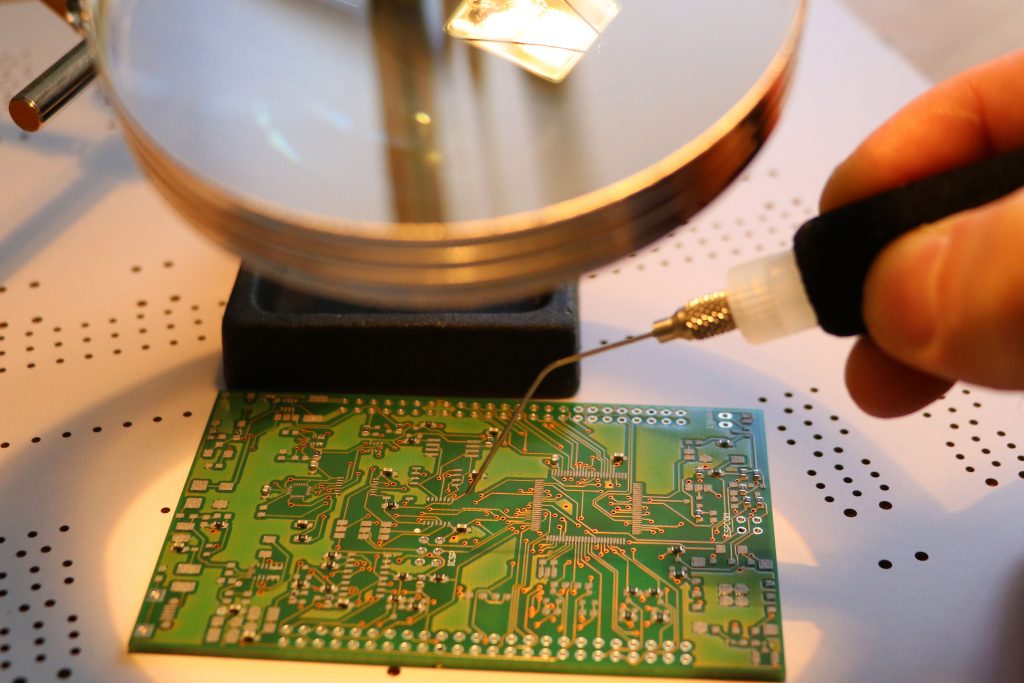
This is the bare PCB as it arrived from the manufacturer.
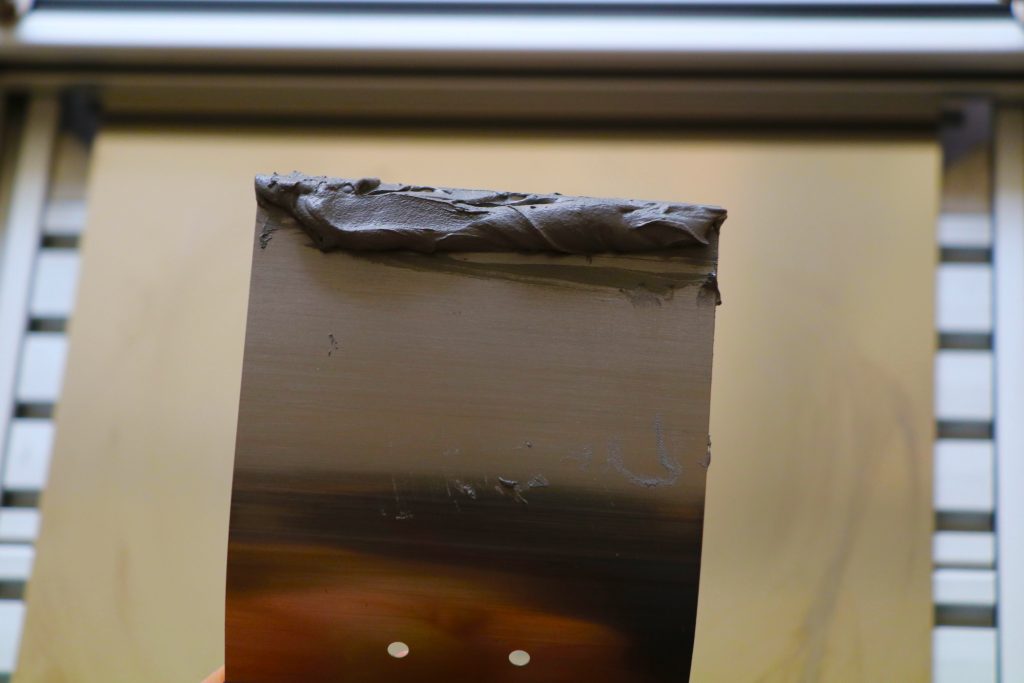
Step 2: Applying solder paste.
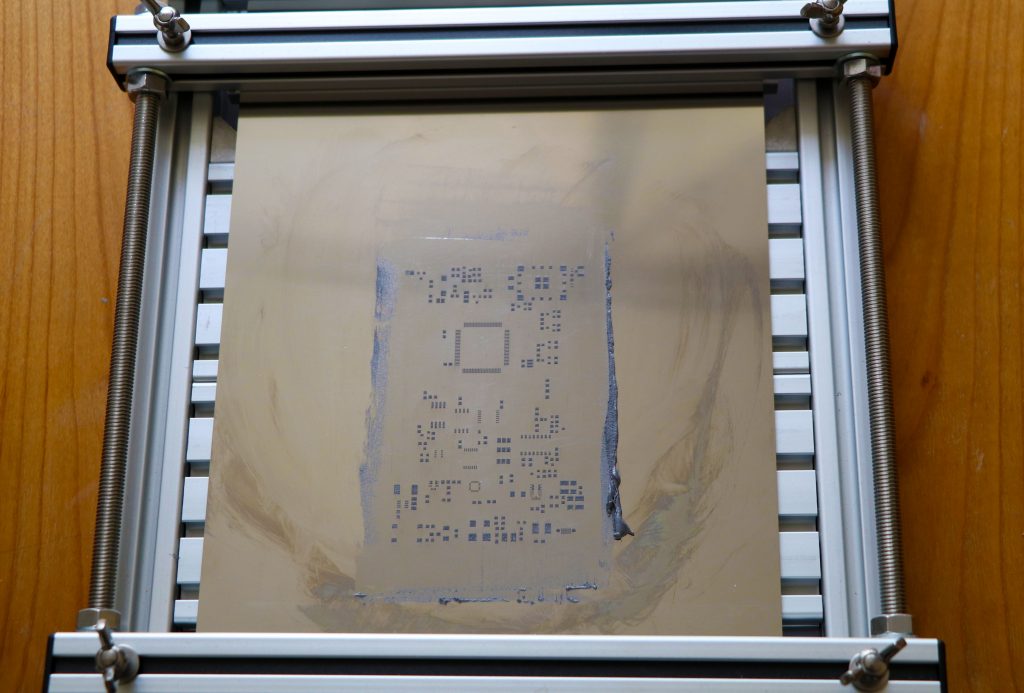
A simple “stencil printer” is used to hold the stencil securely in place while applying the solder
All exposed pads are evenly coated with the solder paste.
Step 3: Placing all components with a vacuum pick-up tool and a firm hand.
All parts are laid out on the PCB. Note that they don’t need to be perfectly straight as the reflow process will take care of it.
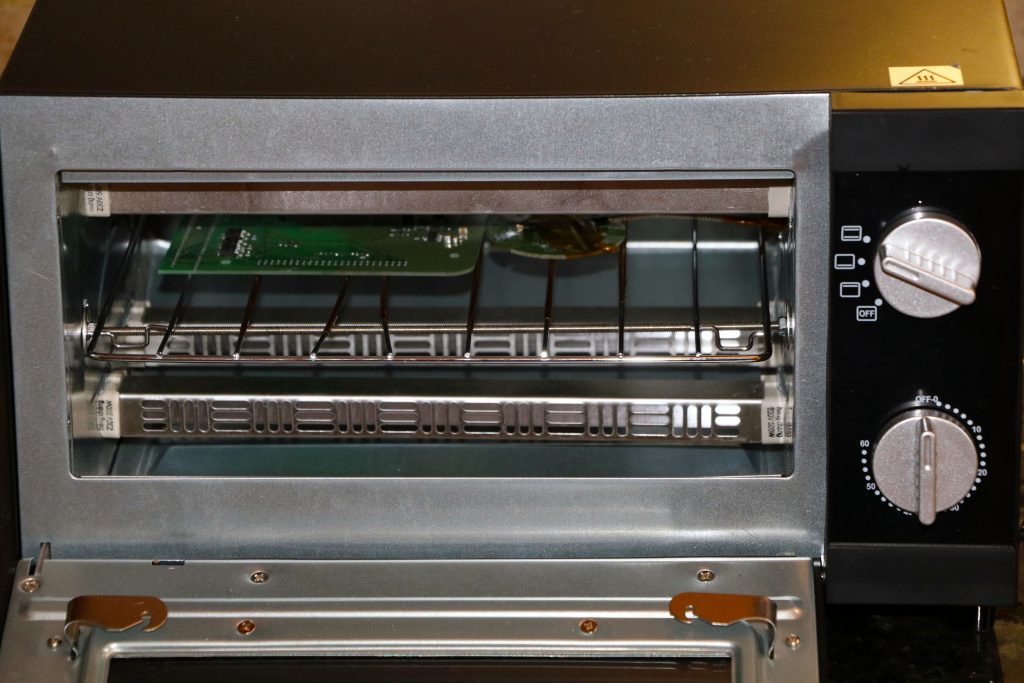
Step 4: Let’s cook the goodies.
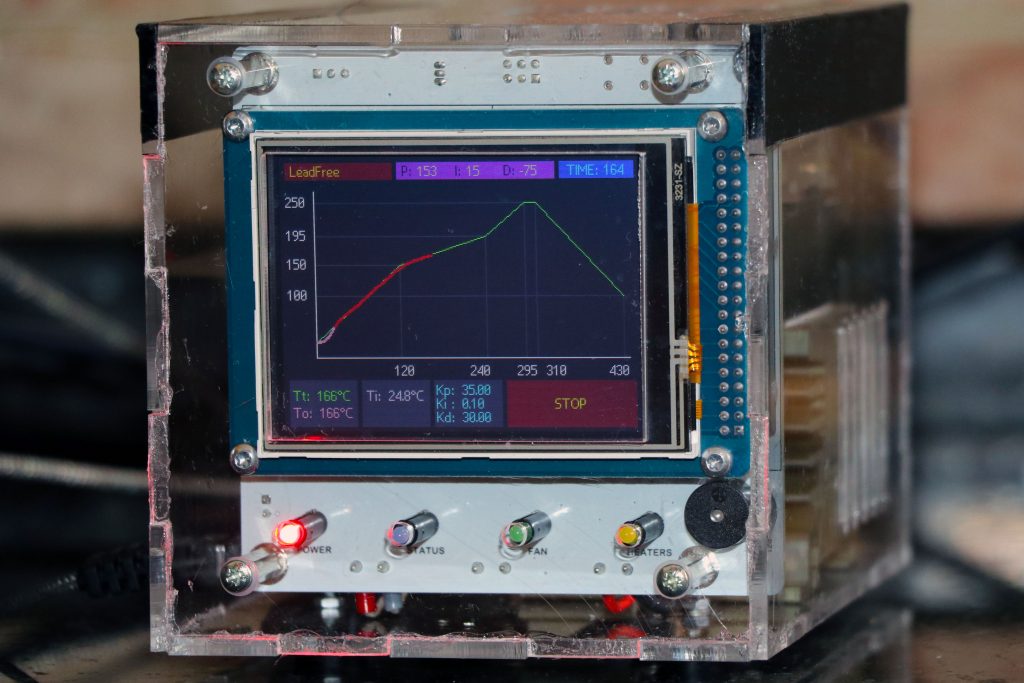
The reflow oven is made from a toaster oven and a controller that follows a specific temperature profile.
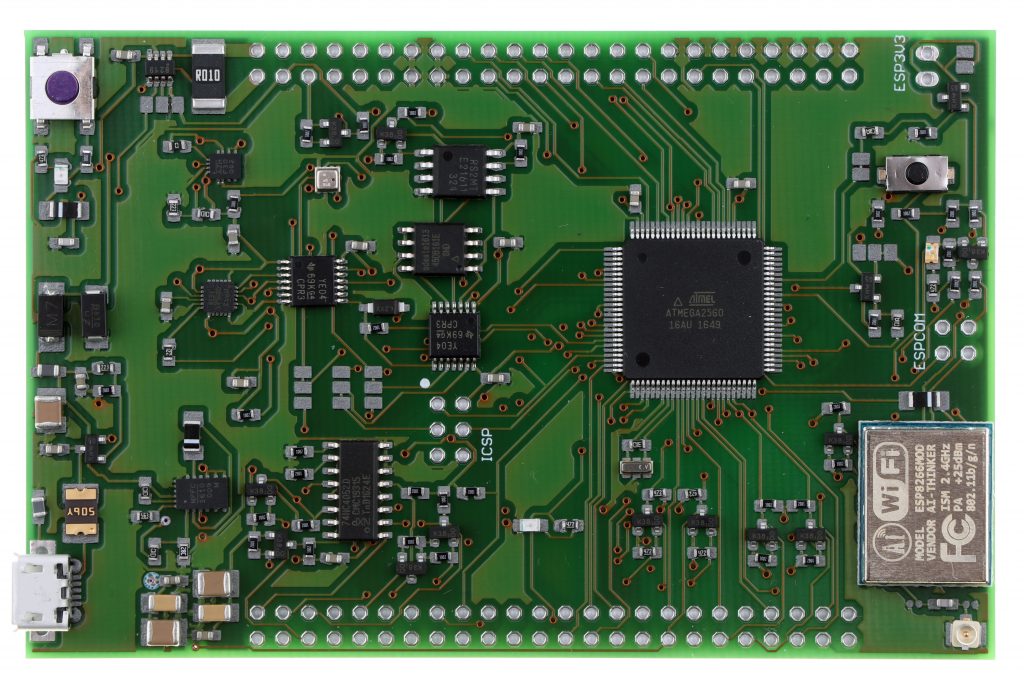
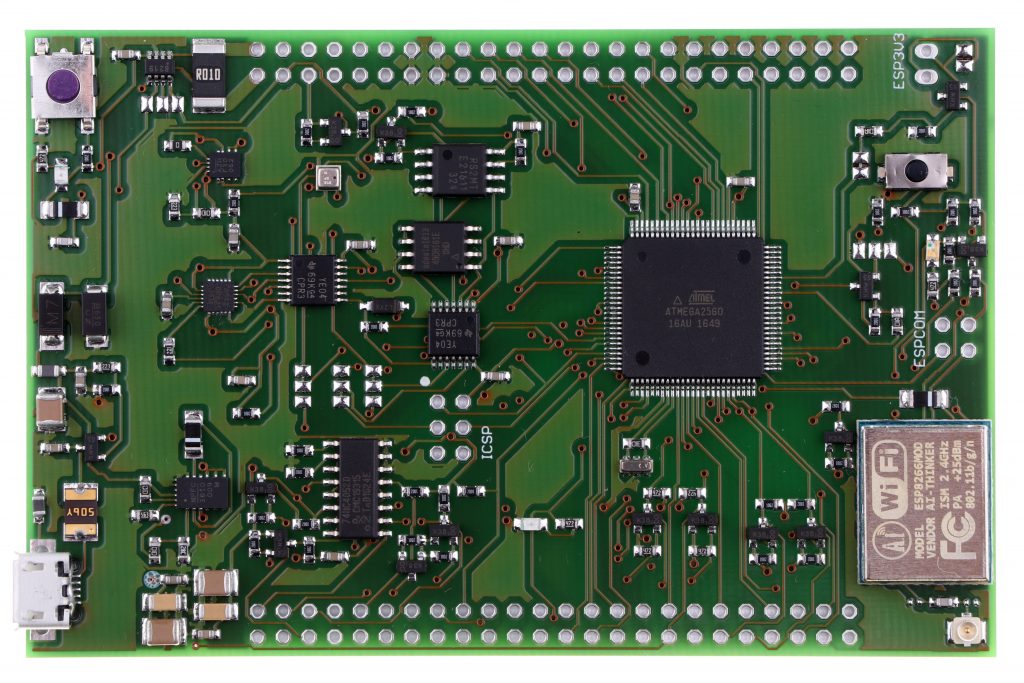
This is the finished PCB. It looks perfect and it works the first time. With a little experience, assembling a PCB like this one takes about 2 hours – one hour of preparation and one hour of placing components.
